Vegan Bounty Bars are not only delicious, but also offer a healthier alternative to the classic candy bar. Dried coconut mixed with sweet maple syrup, coconut cream, and warm vanilla extract are formed together and coated in a rich dark chocolate coating. You won’t be able to eat just one!
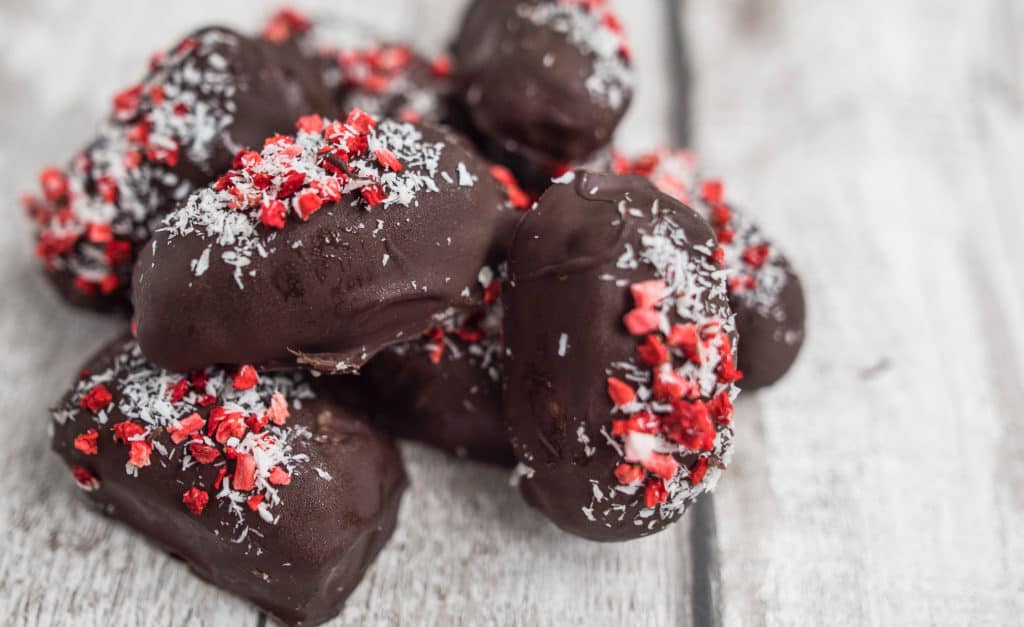
Being vegan (and eating real food) doesn’t mean you have to sacrifice your favorite snacks. They simply have to be adapted! This bounty vegan recipe is gluten, dairy, nut, egg, allergen-free with no refined sugar and all the flavor you know and love. No need for fancy gadgets or specialty candy making equipment. All you need is a blender and a baking sheet.
Only five ingredients make up these vegan coconut bars so you can whip up a batch in no time! Perfect for an afternoon pick me up or a late-night snack craving. Making candy bars from scratch lets you know exactly what goes into treats and into your body. Plus they’re just so fun to make!
What Are Bounty Bars?
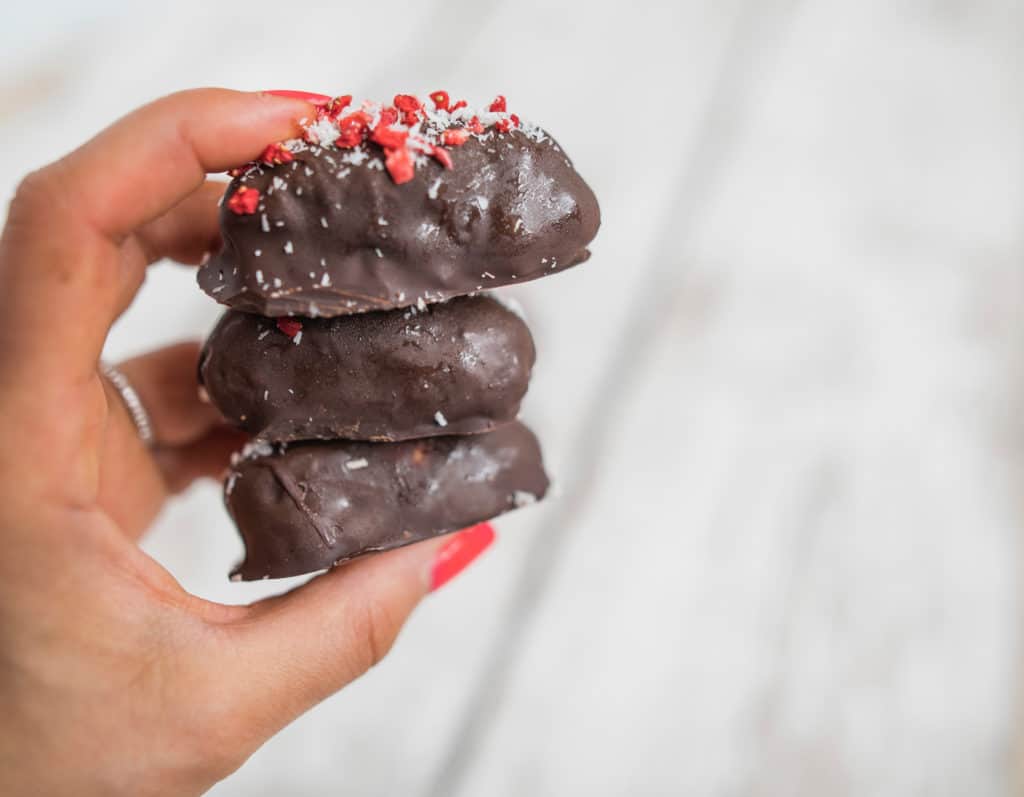
So what exactly are Bounty Bars? Bounty Bars are chocolate bites filled with a sweetened coconut mixture. You might know them as Mounds Bars, or if they have an almond in the center, an Almond Joy.
These tasty treats have been around since the early 1950s delighting young and old alike! Still a classic staple in the candy aisle, our version takes that classic taste and offers a healthier and vegan-friendly alternative.
Ingredients for Homemade Bounty Bars
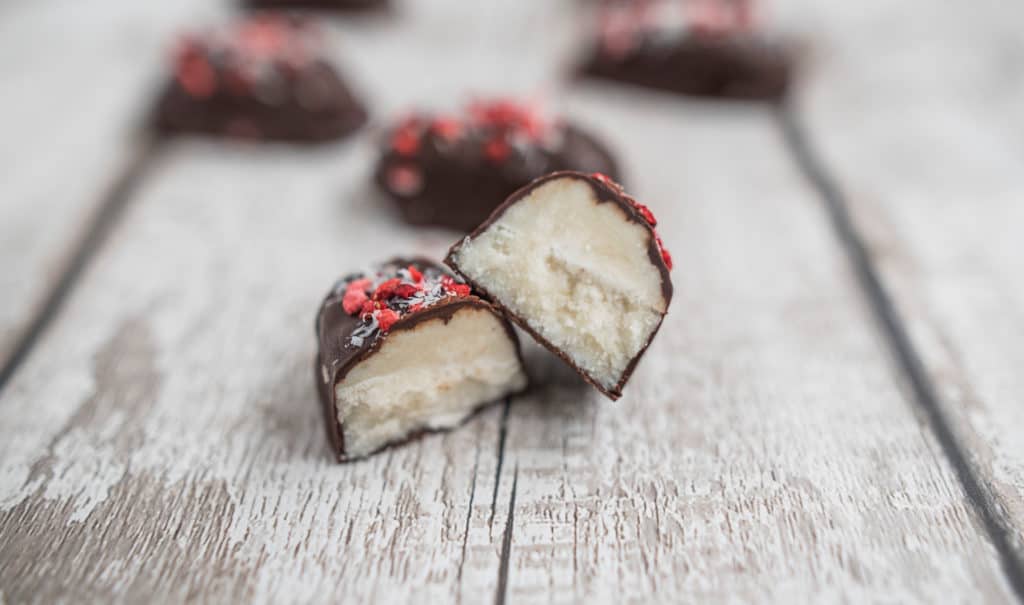
Raw Bounty Bars are so easy to make, it only takes a few simple ingredients!
Here’s what you’ll need:
- Desiccated/shredded coconut
- Liquid coconut cream
- Maple syrup (or any other liquid sweetener of your choice)
- Vanilla extract
- Dark chocolate chips, raw chocolate, or dark chocolate for the coating
How to Make Bounty Bars
Vegan coconut bars are not only quick and easy to make, they’re also a healthy alternative treat to the traditional candy bar!
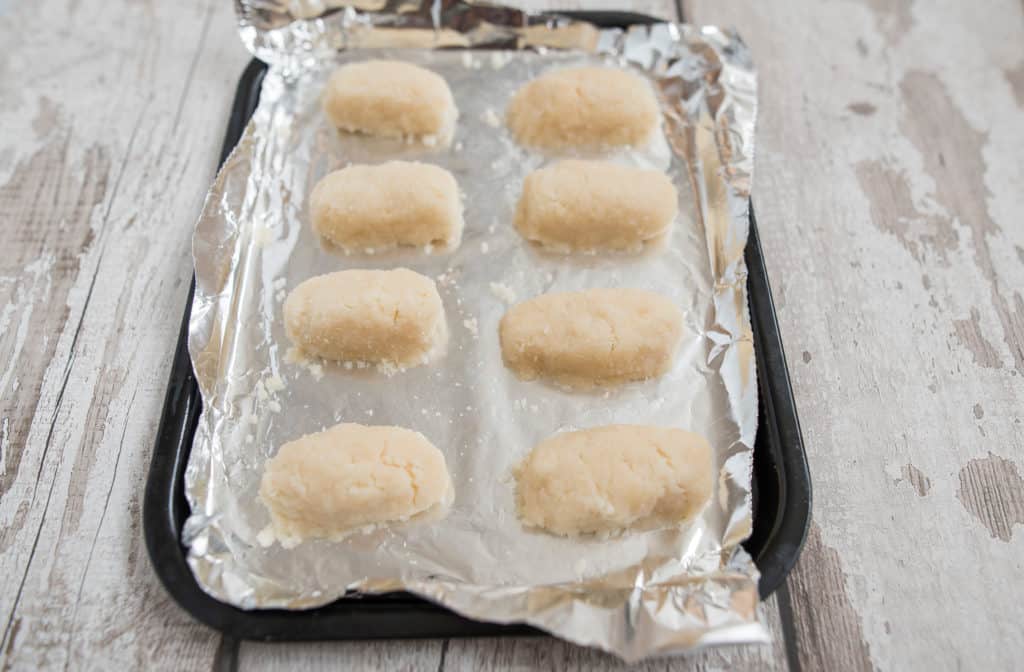
- Begin by lining a small baking tray with parchment paper or tin foil and set aside.
- In a blender or food processor (whichever you have), combine the desiccated/shredded coconut, coconut cream, maple syrup, and vanilla extract. This mixture should be very sticky.
- Next, form that sticky mixture into rounded rectangles or balls. If wanting to stick with the traditional look of Bounty Bars, rectangles are the go to shape. When molding the bars, wet your hands to make them easier to shape and avoid the mess.
- Pop the bases in the freezer for about 30 minutes.
- While the coconut mixture sets, use this time to melt the chocolate. You can add a little coconut oil to the chocolate to make it even smoother!
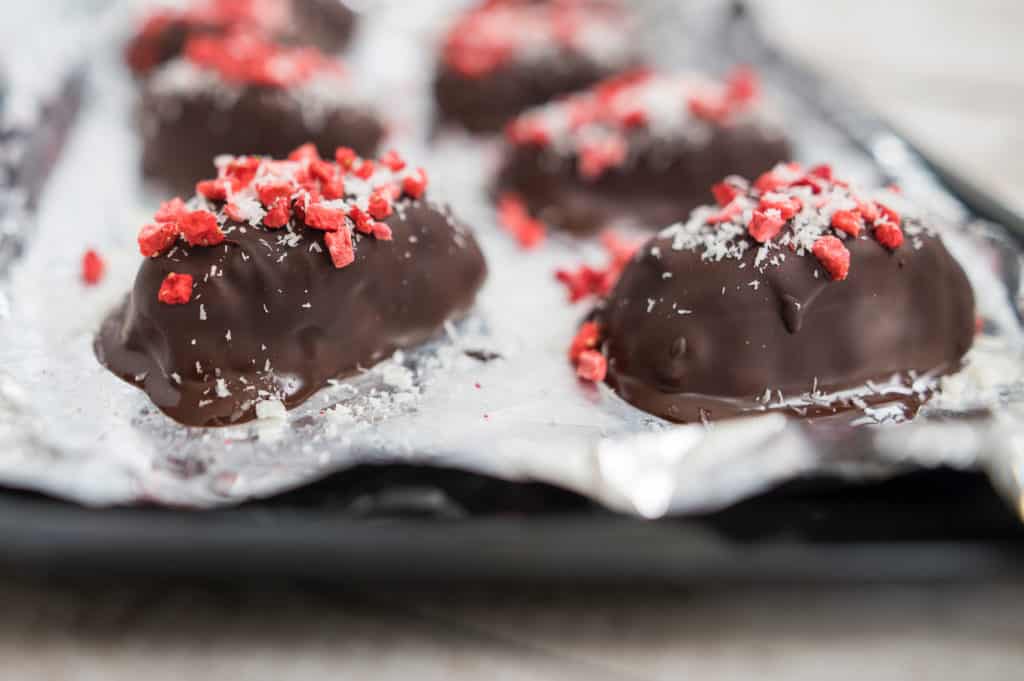
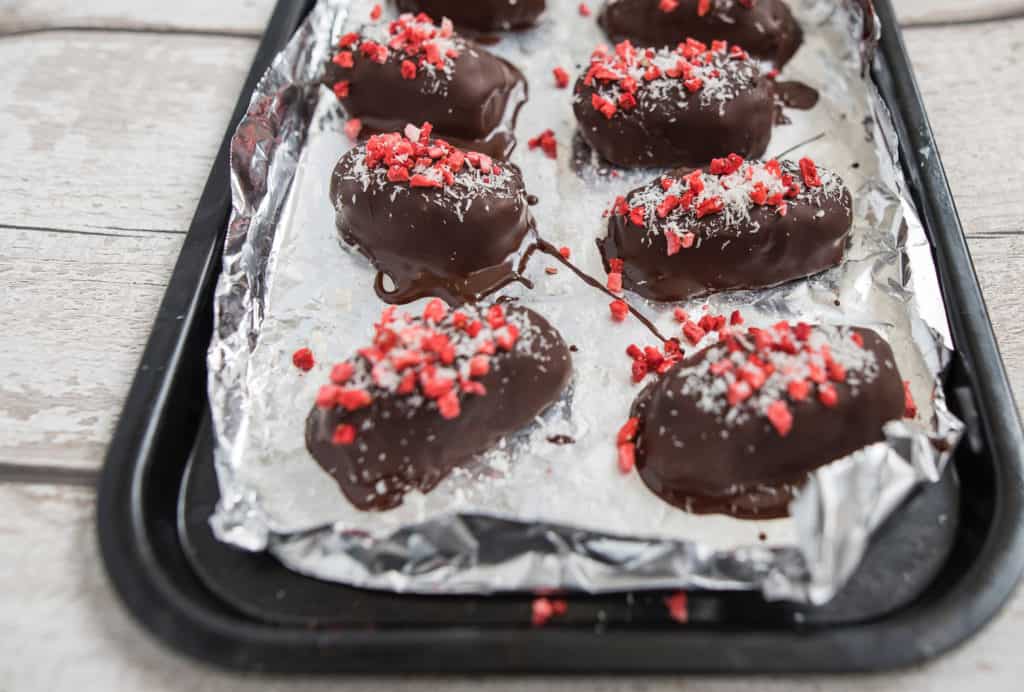
- Once melted, and once the coconut has set it’s time for the chocolate coating. Take the bars out of the freezer and dip them one by one into the melted chocolate. Make sure to coat them completely. Then put them back on the tray; they will begin to harden quickly.
- Pop the tray in the fridge or freezer so that the bars set completely. Remove them when ready to serve and indulge in your healthy treat!
Tips
- For a richer, more lush chocolate coating add in a touch of coconut oil.
- The chocolate coating does begin to harden and set pretty quickly, so if you want to add some extra toppings, do it quickly!
- Speaking of added toppings, crushed peppermint, extra dried coconut, chopped peanuts, or almond slices are great little additions to sprinkle on top or include in the bounty bar mixture.
- For a sweeter bounty bar, you can play around with the amount of maple syrup you add to the coconut mixture.
How long do Healthy Bounty Bars stay fresh?
These homemade treats will stay fresh in the fridge for up to 5 days. However, this clean eating bounty bars recipe is perfect for freezing. Make an extra batch to save in the freezer and pull out whenever the craving for a sweet treat hits.
What kind of chocolate should I use in this healthy bounty recipe?
To keep these bounty bars vegan, you'll need to choose dairy-free chocolate. Luckily, most pure dark chocolate is naturally dairy-free. You could also make these healthy bounty bars with raw chocolate if your budget allows!
Lvoe coconut? Give these vegan sweet treats a try!
Recipe
Vegan Bounty Bar Recipe
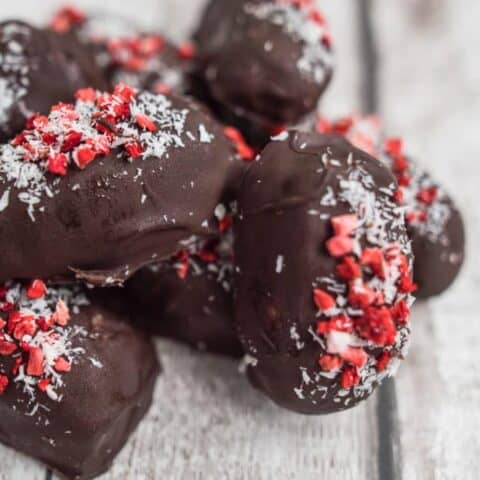
Vegan Bounty Bars are not only delicious, but also offer a healthier alternative to the classic candy bar. You won’t be able to eat just one!
Ingredients
- 2 cups desiccated/shredded coconut
- ½ cup fluid coconut cream
- 3 tablespoons maple syrup (or any other liquid sweetener)
- 1 teaspoon vanilla extract
- Dark chocolate chips, raw chocolate or dark chocolate for coating
- Coconut oil (optional)
Instructions
- Line a small baking tray with baking paper or tin foil and set aside.
- In your blender or food processor, mix together the desiccated/shredded coconut, coconut cream, maple syrup and vanilla extract until sticky.
- Next, form the sticky mixture into rounded rectangles or balls (you can also use a silicone mold to make this easier if you wish). Wet your hands when moulding the bars as this makes them easier to shape.
- Pop in the freezer for 30 minutes.
- In the meantime, melt the chocolate. You can add a little bit of coconut oil to the chocolate to make it smoother if you wish.
- It's time to do the chocolate coating. Take the bars out of the freezer and dip them into the melted chocolate, coating them completely. Then put them back on the tray; they will harden quickly so if you want to add some extra toppings, do it quickly before they set.
- Pop the tray in the fridge or freezer so that they set completely.
Notes
You can top your vegan bounty bars with crushed peppermint, extra dried coconut, chopped peanuts, freeze-dried berries, or almond slices.
Nutrition Information:
Yield: 8 Serving Size: 1Amount Per Serving: Calories: 252Total Fat: 14gSaturated Fat: 12gTrans Fat: 0gUnsaturated Fat: 2gCholesterol: 1mgSodium: 71mgCarbohydrates: 32gFiber: 3gSugar: 27gProtein: 1g
Please keep in mind that the nutritional information is calculated using a nutrition facts calculator. It is a rough estimate and can vary greatly based on products used.
How easy and nice does this vegan bounty bar recipe sound? You can make them as bars, balls, squares, or even a cake! I personally think that making them into small mounds makes portion control much easier!
As always please, if you make this recipe share it with me either on my Facebook, Twitter or Instagram. I would love to see it! Hashtag #HediHearts


Comments
No Comments